
Whether you have purchased a Shade Sail from our pre-designed range or a bespoke product, correct tensioning of your Shade Sail is key to its longevity so when choosing hardware it is important take the allowances and limitations of each fitting into consideration.
See fixing information for further details
![]()
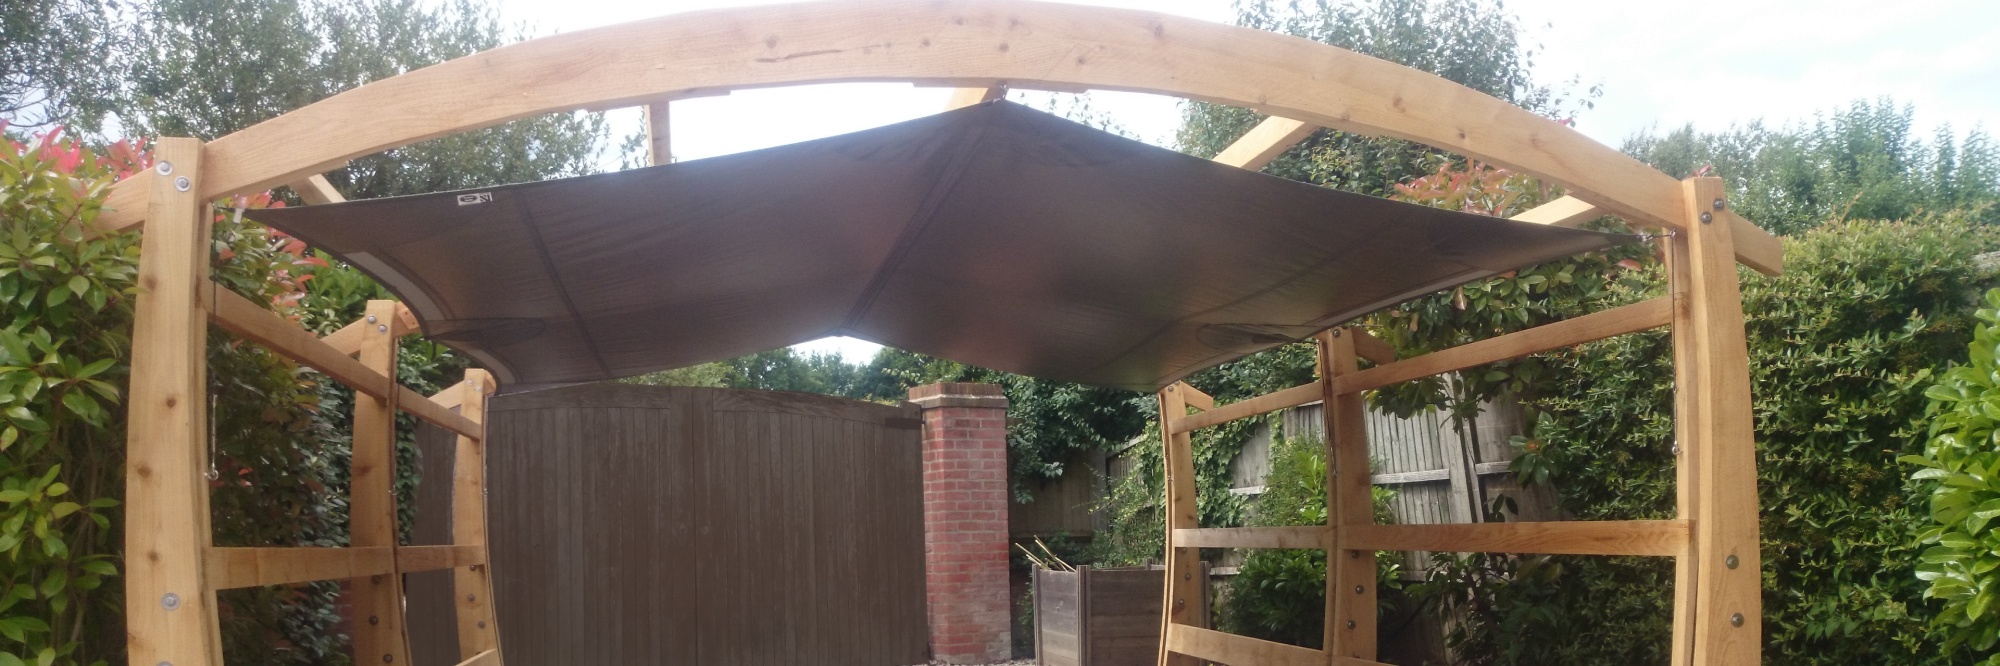
Posts
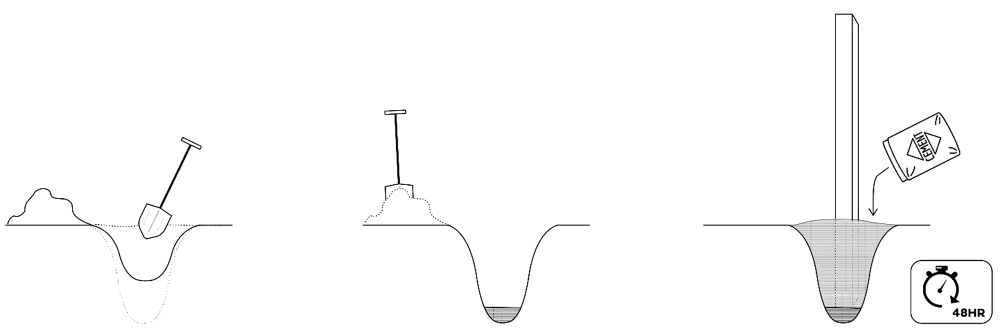
If your Shade Sail is supported by posts they should to be installed with a secure footing, making sure that 1/3 of the post secured in the ground; in firm ground lay 100mm of coarse gravel underneath the base of the post, and in softer ground lay 100mm of concrete. If you are digging through landfill or raised beds, these depths should not be included in the footing.
When installing your posts depending on their size they will need to be secured either vertically, or can be installed leaning away from the centre of the Shade Sail.
To install the post fill the hole in with pre-mixed concrete ensuring it is packed tightly. Leave this to set for at least 48 hours before removing any bracing and fitting the anchorage points.
If using wooden posts, they should be at least 150mm in diameter. Metal posts should be a minimum of 120mm diameter with a 6mm wall thickness.
![]()
Attachment
See fixing information for further details
1. Anchorages (Wall and Post Fixings)
If your anchorage point is to a building or brick structure, we advise that you ensure the brickwork is sound or seek the advice of a structural engineer. During poor weather and strong winds the loading on your Shade Sail can be enormous, and should not be underestimated.
For anchorage points into brick structures a resin eyebolt or eye plates are generally suitable. Anchorages suitable for fixing into wooden posts or structures include eyebolts and eye plates.
![]()
2. Fixings
Using your chosen fixing accessories, you can begin to fit your Shade Sails. Instruction on how to install our adjustable fixings can be found here:
(Downloadable PDF guides can be also found at the top of this page)
Once all the mounting points have been installed it is time to fit the sail. In most cases this will be an M8 turnbuckle between the corner ring of your shade and the fixing eye.
- Wind the turnbuckle open and apply lanolin or anti seize compound to the thread.
- Attach the turnbuckle to the shade and offer up to each post eye in turn.
- Work around the sail tensioning a little at a time in turn to ensure even tension all round.
- Stop tensioning when the shade is rigid and flat with no creases, then tighten the locking nuts up to the barrel of the turnbuckle to prevent them from spinning loose.
- Check and re-tension after settling in, and check and re-tension periodically.
![]()
If you prefer to leave the DIY to the experts, then any competent landscaping /gardening or building organisation should be able to do the work, including all aspects from measuring the site to installation of posts and finally fitting your shade.
All the information to successfully plan and install a shade sail can be found within these pages of the website. We recommend you ask a known and trusted local tradesperson, or see our list of recommended installers, who cover most of the country.